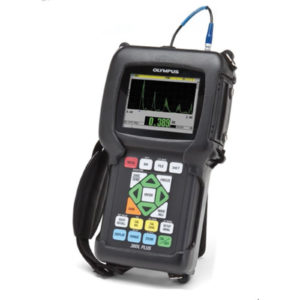
Description
Measurement range
flange height, mm 20…45
flange thickness, mm 20…50
flange slope, mm 1…15
rim thickness, mm 36…100 (30…90)
diameter (calculation method), mm 400…1400
Measurement error
flange height, mm ± 0,05
flange thickness, mm ± 0,05
flange slope, mm ± 0,1
rim thickness, mm ± 0,1
diameter, mm ± 0,1
Discreteness of indication
all parameters, mm 0,01
Profile measurement range, mm 145
Discreteness of the profile formation, not worse than, mm 0,025 (5800 points for profile)
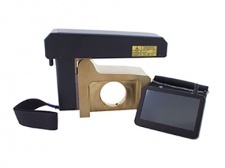
Digital readout device (PDA) dimensions, mm 112,5×95,5×22,7
Dimensions of laser scanning module, mm
Standard: 214×156×54
Short: 201×114×54
Super-short: 213,5×90×54
Power supply (laser scanning module)
3,7V,
Li-ion rechargeable battery
5400mAh for standard IKP and
2400mAh for Short and SShort
Measurement time, s
adaptive, depending on surface quality, 4 average
The number of measurements that can be taken before a battery recharge is not less than
5000 for Standard IKP and
2200 for Short and Super-short
PDA memory capacity
100 000 measurements
